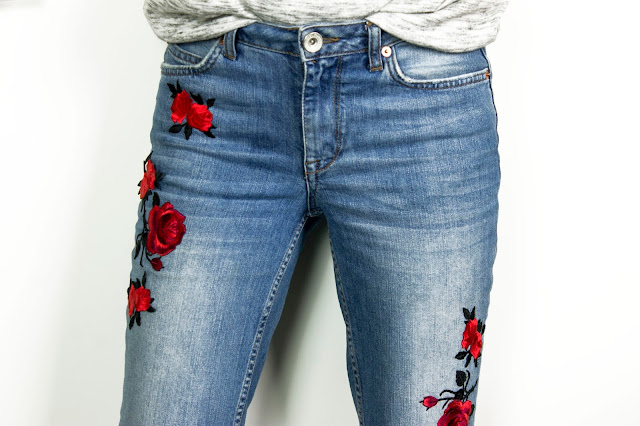
Embroidered jeans have been such a massive trend for the past few months, and I’ve been oogling over so many pairs on the high street, on other bloggers and in magazines. I figured it was about time I made my own. I don’t see the point in forking out fifty quid for a brand new pair of jeans when you probably have an oldish pair lying around in need of a refresh, and you can pick up iron on patches for a couple of euros/pounds/dollars.. I bought mine on AliExpress and I think for all 6 patches it came to just under €3. So have a bit of fun with your own pair of embroidered jeans, and rejoice in the fact that nobody will have a pair like yours.
You will need:
A pair of jeans
Selection of iron on patches
Needle and matching threads
Iron
Scissors
Lay out the patches and decide where you want to place them.
Iron the patches onto your jeans, being sure not to burn or melt the patches. Place a light pieces of cotton over the patches as you iron. I would say hold the iron on the patches for 30-40 seconds at a time.
If your patches are the highest quality, you may want to sew them on a little bit too, if you plan on washing your jeans and want the patches to last. It’s a little bit tedious but it’s well worth it in the long run.
FRAYING THE HEMS
This is another huge trend at the moment so I figured I’d add in another element to the jeans. To create the stepped raw hem effect, you first want to cut a slit in either side of the leg, about 2 inches up. Cut the front ‘flap’ off the jeans.
Cut the stitched hem off the back of the jeans, and you’ll be left with a shorter front hem, and longer back hem.
Fray the hems as much as you want by pulling a few (or a lot) of the threads loose. They’ll also fray more as you wear them and wash them.
Here’s a link to the patches I bought if you’re looking for some > smaller roses , bigger rose


